1. Upload the Images

1. Open the WordPress Dashboard and Select Media – Add New
 .
.
Open the “Jobs in Progress” folder and upload images to that folder

Advanced set tings.
After uploading images, replace the Name field with a meaningful title
2. Create a Project Page

Select Add New from Projects Submenu

Select the Build From Scratch Option to create a project page


Add the Title line
Choose the single row layout and insert a Text Module
Then add a descriptive title.


Add another single row as performed in the previous step. Then select Gallery from the Insert Module Menu
Then click the Add Gallery Images button to upload files from your computer and add them to the Jobs-In-Progress folder
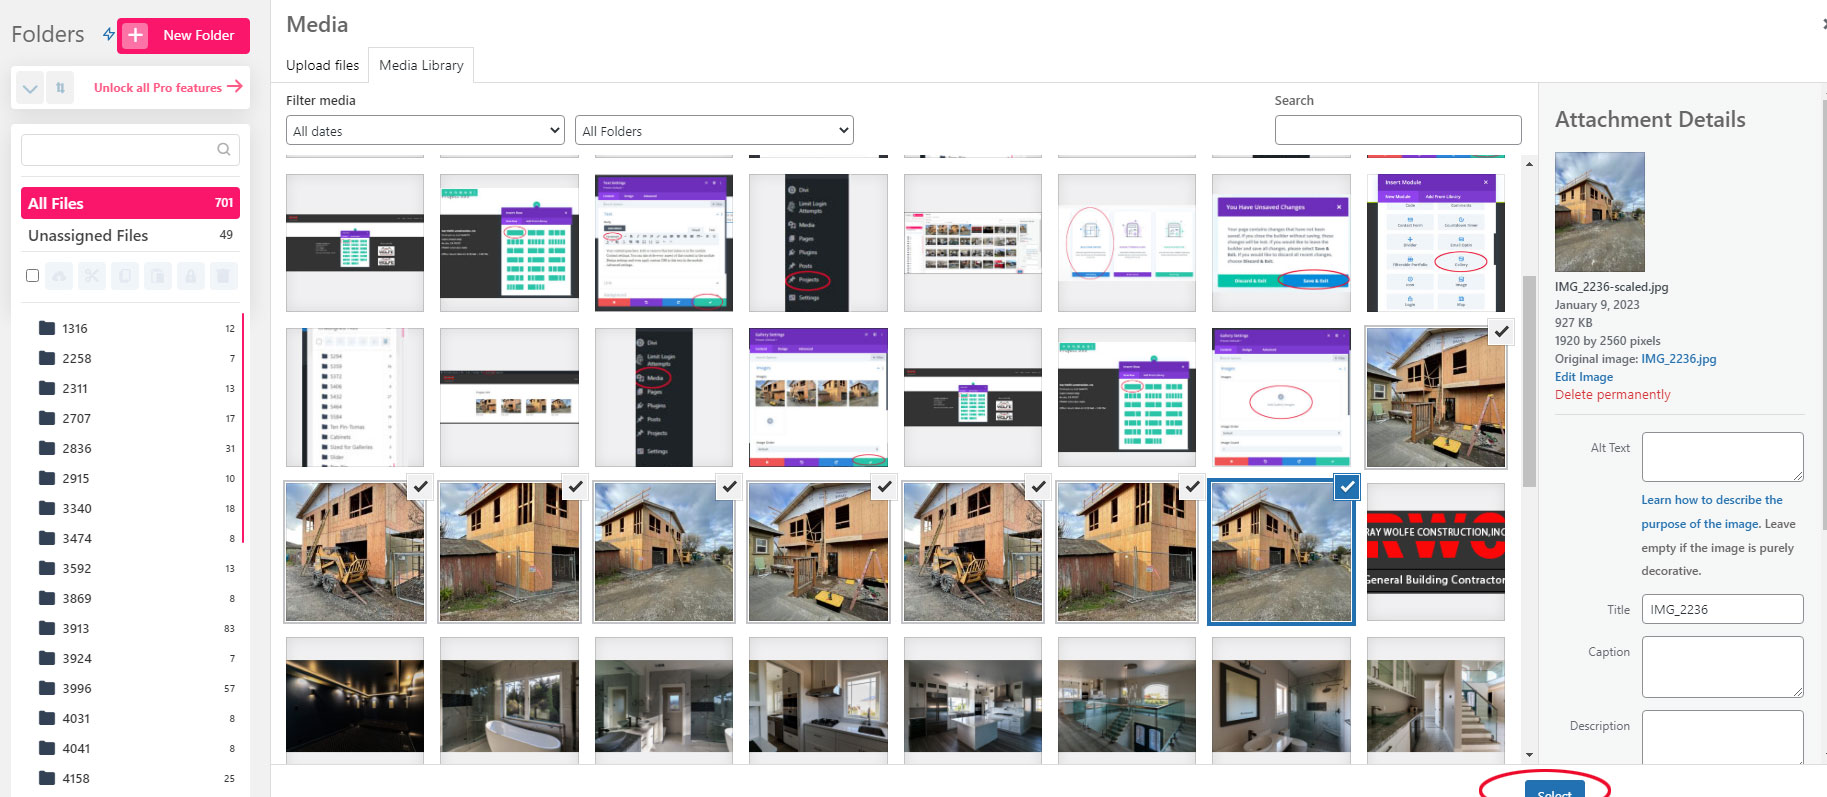
Select the images you wish to include by holding down the <Ctrl> Key and then clicking the target images. Then click the blue Select button
The selected images will be included on the page and you will be able to arrange the images as desired.
Once you are done arranging the images, click the Check button to save.


Hover over the Jobs-in-Progress page and click Edit with Divi Builder
Hover over the target row and click the grey “+” Button and click
Select Image from the module types and click the gear icon by hovering over the upper right corner of the image.
The media library will appear.
Select the image from the Job in Progress that you want to use as a link by locating it in the Media Library, clicking on it, and clicking the Upload an image button.
Click the “Check” button at the bottom right to insert it into the page

Select the Link property and enter the Image Link URL (the location of the URL will be a separate conversation due to the complexity of this step.)
